Simply SNMP Agent
Simply SNMP Agent for Windows. Enable windows performance monitoring utilizing SNMP.
Simply SNMP Agent
Installation & Configuration for performance Monitoring
Simply-SNMP Agent for Windows
You are an administrator who currently maintains Windows servers and you need an SNMP Agent to integrate to an existing SNMP Manager so that you can overcome administrative difficulties and lower operating costs. Simply-SNMP Agent will allow you to deliver the functionality and simplicity you require in successfully monitoring a distributed environment.
Before You Begin Simply-SNMP installation
Objectives
After completing this installation on a computer, your SNMP
Manager will be able to get performance value from windows using SNMP protocol.
Prerequisites
Before installation, your target computer must have:
- .NET Framework 3.5
- SNMP Service
For Windows Server 2003, you must also install Windows Imaging Component (WIC) on the target computer:
Components of the Simply-SNMP Agent
SimpleSNMPAgent: This is the Windows SNMP Extension Agent
SimplySNMPConfiguration: This application is to create the OID table. OID table refers to Windows performance.
Deploying Simply-SNMP Agent
Download Simply-SNMP agent and extract to any local drive.
Installation & Configuration for Performace Monitoring
Install Simply-SNMP Agent
In the previous tasks, you ensured that your environment met all of the prerequisites for installing a Simply SNMP Agent. In the following task, you will install Simply SNMP Agent on the appropriate computer.
- Logon to the Server as Domain Administrator.
- On the Server, Run Windows Explorer and find SimplySNMPWin2012Installer64.msi or SimplySNMPWin2012Installer64.msi in the target folder
- Run SimplySNMPWin2008Installer64.msi or SimplySNMPWin2012Installer64.msi.
If .NET Framework 3.5 is not installed. .NET Framework 3.5 installation windows will pop up. If yoiu are prompted you should install .NET Framework 3.5 and Reboot computer For Windows Server 2003, you must also install Windows Imaging Component (WIC) on the target computer before .NET Framework 3.5 installation:
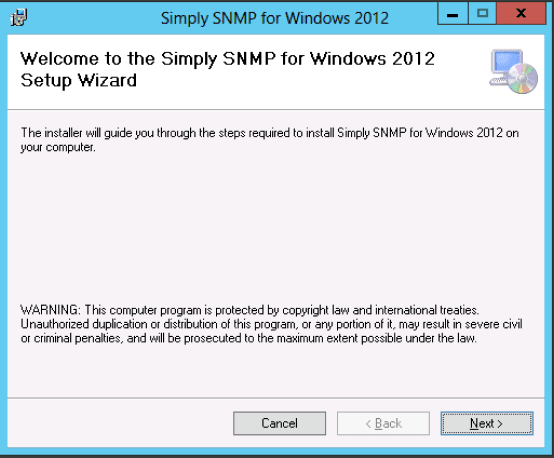
4. Once you launch the application, you will see the Welcome page, click Next

5. On the License Agreement page, select I Agree and then click Next.

6. Browse folder location to install and choose Just me or Everyone. On the Network Credentials page, click Next.

7. On the Confirm Installation page, click Next.
8. On the Installation Complete page, click Close.
Register Simply-Sync
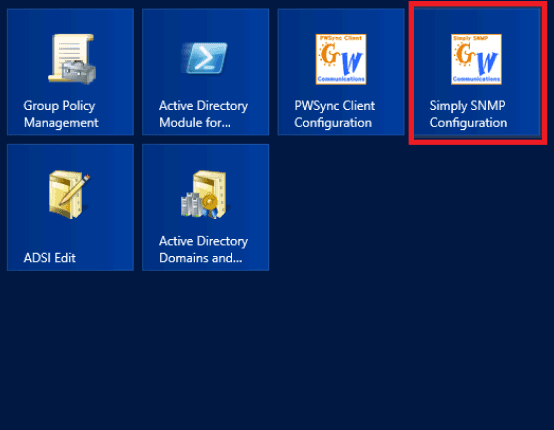
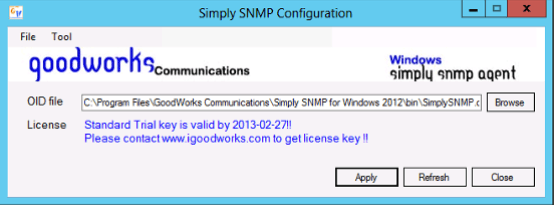
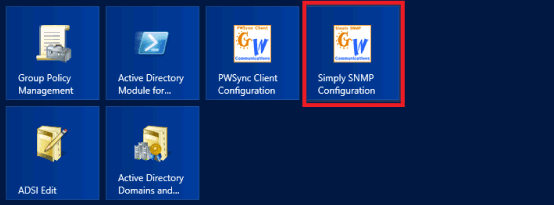
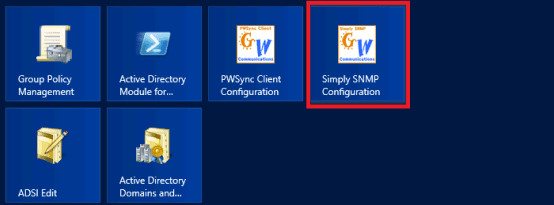
1. On the Server, Run “Simply SNMP Configuration” by click “Start” -> “Simply SNMP Configuration”
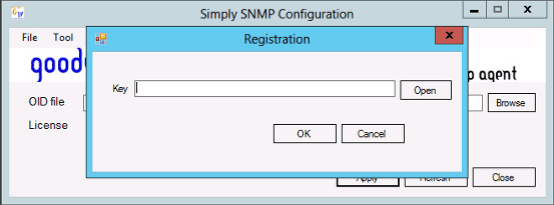
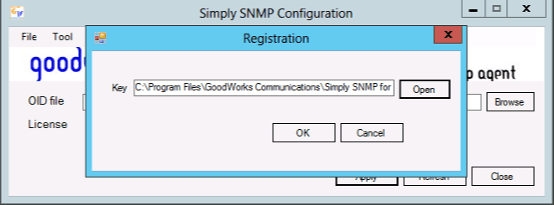
2. Choose Tool -> Register. Copy and paste the license key. To obtain a license key file, please contact info@igoodworks.com

Choose OID Table
1. On Server, Run “Simply SNMP Configuration” by click “Start” -> “Simply SNMP Configuration”
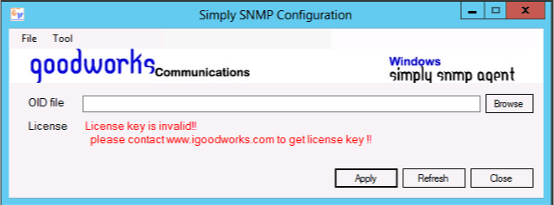
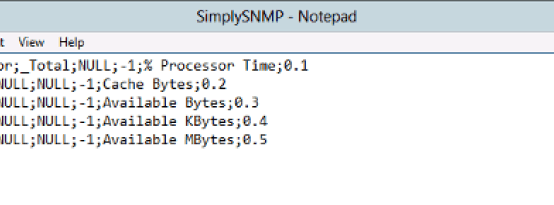
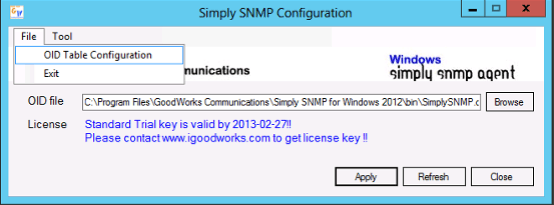
2. Click “Browse” button and Select OID table file, there is sample OID table named “SimplySNMP.oid” in installation bin folder

3. Click “Apply” button
3. Click “Apply” button
Test Simply-SNMP Agent
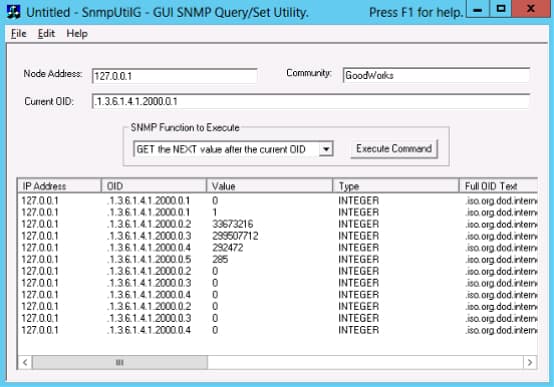
1. On the Server, Run any SNMP Manager. In this document, we will use “SNMPUtilG” as an example
2. Type Community, OID number and Click “Execute Command” buttonYou can find OID number by opening “SimplySNMP.oid” file.“1.3.6.1.4.1.2000” is the predefined prefix.
Install Simply-SNMP Agent
Create OID TableIn the previous tasks, you installed and registered Simply SNMP Agent.
In the following task, you will create and configure the OID Table.
Simple SNMP Agent is offered in two different versions, Basic and Pro:
1. On Server, Run “Simply SNMP Configuration” by click “Start” -> “Simply SNMP Configuration”
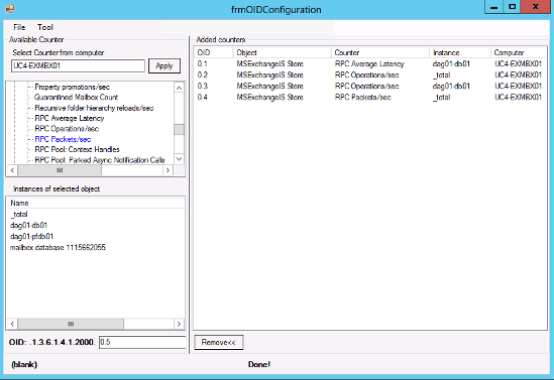
2. Choose “File’ and “OID Table Configuration”
3. Choose desired “Counter’ and Click on “Add >>” button
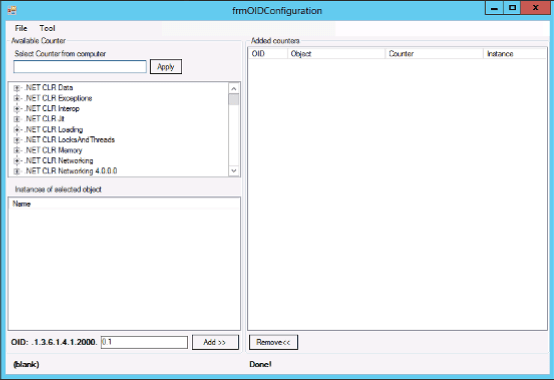
4. Save OID Table by selecting “File and Choose “Save OID Table”.
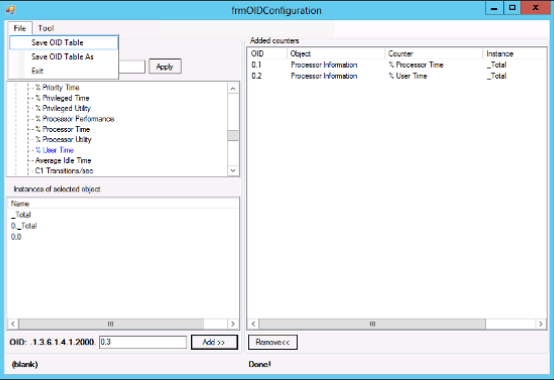
5. To save OID Table for another machine. you can type “Server Name” and Click “Apply” button.
Install and Configure SNMP Service
Most of the information used by the SNMP service that you will need to configure is available in the SNMP Service Properties window accessed via the Services tab in the Network applet. This window will also appear after the SNMP service is initially installed. The SNMP Service Properties window does differ in appearance between Windows 2008 and 2012, but the information is basically the same. To configure the SNMP service you must be logged into an account with Administrator privileges.
To open the SNMP Service Properties window, double-click the Network applet in the Control Panel, click on the Services tab, select the SNMP Service from the Network Services list, and click the "Properties . . ." button.
The Microsoft SNMP Properties window should now be visible. The three tabs contain most of the SNMP service configuration information that is stored in the Windows registry. The Agent tab contains the values for the sysContact, sysLocation, and sysServices MIB-II variables.

The Traps tab allows you to configure the IP or IPX addresses or DNS host names of the trap destinations. The case-sensitive community name that is encoded in each trap message must also be specified. Up to five trap destination addresses may be entered per community name.

To add a new trap destination community name, click in the combo box and highlight the community name that is there (if any). Enter the new community name and click the Add button. Now click the "Add..." button under the Trap Destinations list box. Enter the address or host name of a trap destination. Repeat this step as necessary.
The Security tab enables the sending of authentication traps and configures the communities that are considered valid by the SNMP agent. If no community names are listed, then all community names are accepted. The agent may also be configured to accept SNMP messages only from specific management hosts; to do this you must specify the host's name or its IP or IPX address.
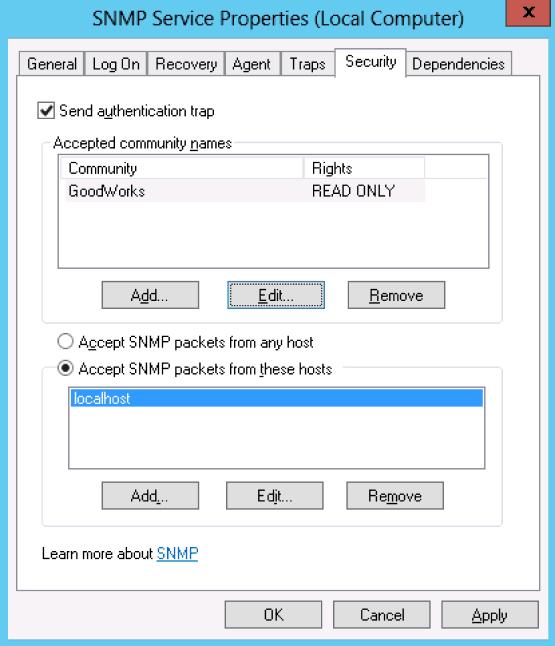
All security settings are global to the agent. For example, you can't associate a specific community name with only a single management host address. All permitted managers are considered by the SNMP service to be members of all the community names listed. And the concept of read-only community names is not supported.
New or updated properties information is not written to the registry until you click the Apply or OK buttons. Clicking the Cancel button or hitting the Escape key will discard any changes you have made in the Properties window.